In this blog post, we will be looking at this new cool feature called Azure Arc Resource Bridge.
I have been deploying an Azure Stack HCI at home and I wanted to explore the Azure Arc Resource Bridge to lay some icing on the cake. This blog explains the end user experience, so that you will get an understanding what can be achieved using this service.
Azure Arc Resource Bridge is a component of the Azure Arc Platform that provides self-serving capabilities for virtualized environments such as Azure Stack HCI and VMware. With that, you will be able to create, update and delete virtual machines in Azure Stack HCI clusters and VMware Clusters. All those environments can be centrally managed via the Azure Portal for their day-to-day operations. More importantly, you can use the same Infrastructure as Code tool sets to deploy and manage your workloads, regardless of where they are located.
Architecture
The high-level architecture for the Azure Arc Resource Bridge is shown below.
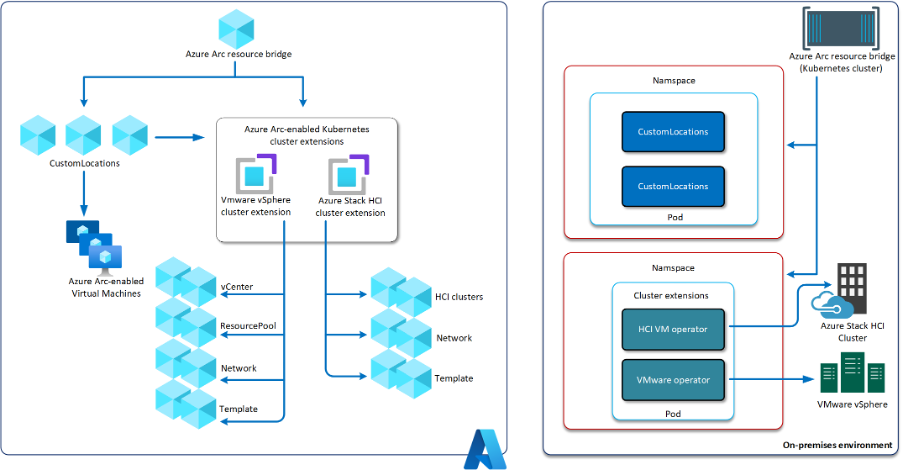
This includes two main components on the Azure side, cluster-extensions and custom locations. Custom location represents a logical location for the connected Azure Arc Resource Bridge. Cluster extension represents the projected components that is provisioned on-prem in the cluster. Note that Vmware and Stack HCI have different cluster extension components.
Once you have a setup Azure Arc Resource Bridge along side of your HCI cluster, you will see all the resources are projected into the Azure subscription.
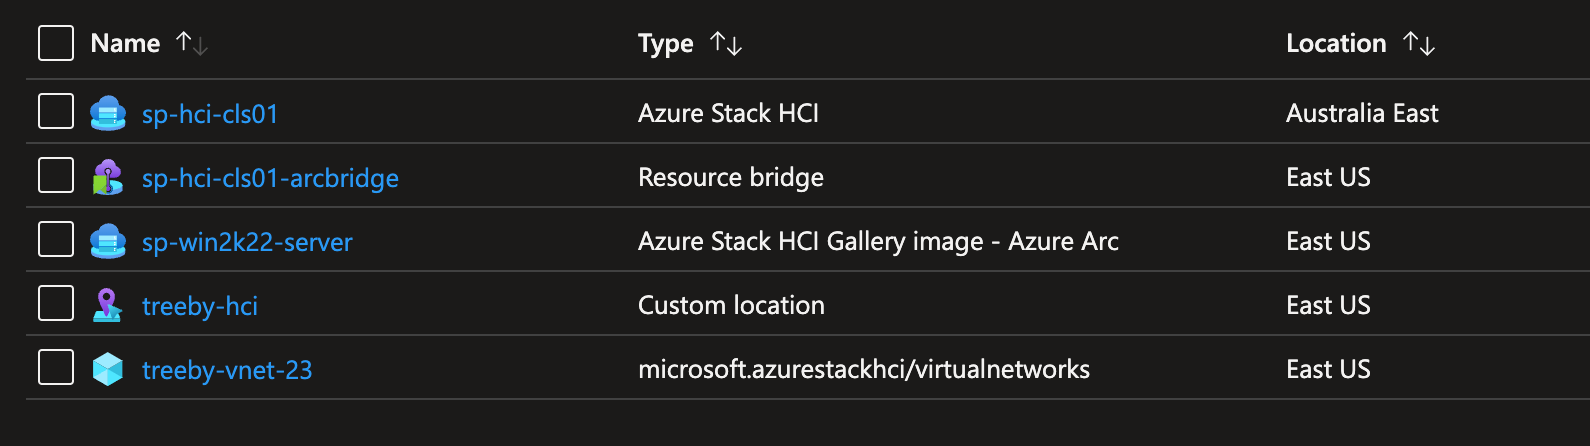
The above setup, there is a resource bridge resource that represents the resource bridge properties and configuration. Then we have a custom location resource that represents a location for the HCI. We also have Gallery Images that presents my windows image, then also have a vnet that represents my lab network at home. They are all projected as Azure Resources to work as a harmony to provision the required workloads in my lab environment.
End User Experience
Let’s have a look at the end user experience of managing the VM’s when Azure Arc Resource Bridge is fully setup.
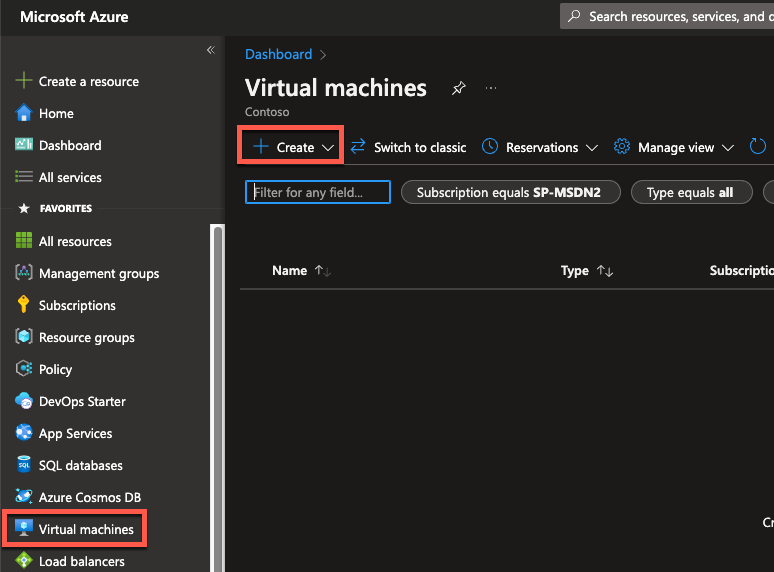
Create a VM using the Portal
Login to the Azure Portal and navigate to Virtual Machines.
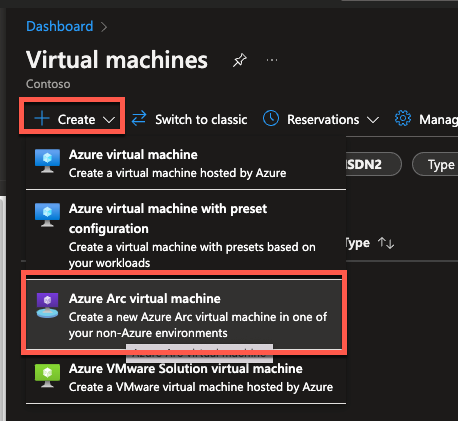
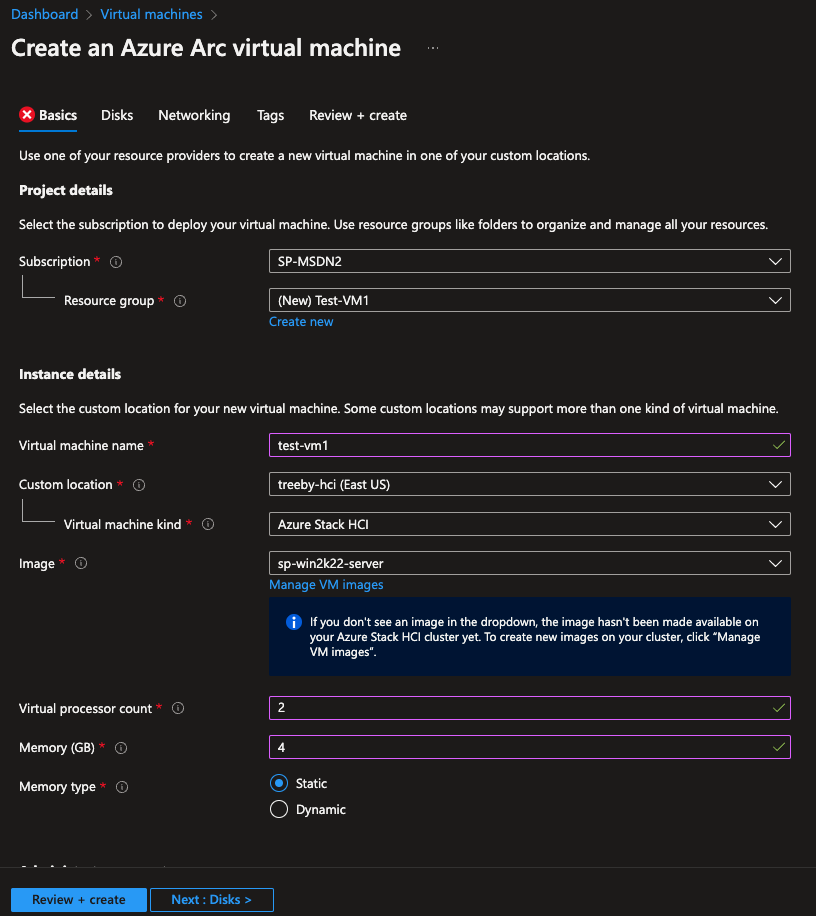
Select Resource Groups, enter VM Name, select, custom location and image reference.
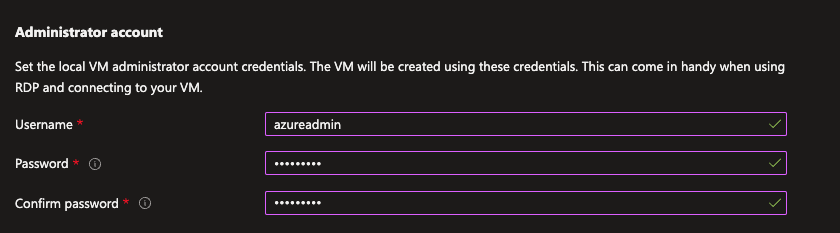
Enter Administrator username and Password.
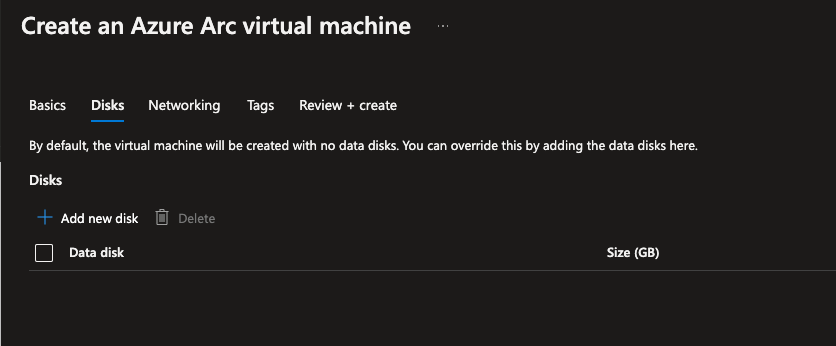
Add any additional data disks that is required for the VM. In my case, I’m not going to attach any additional data disks outside of the OS disk.
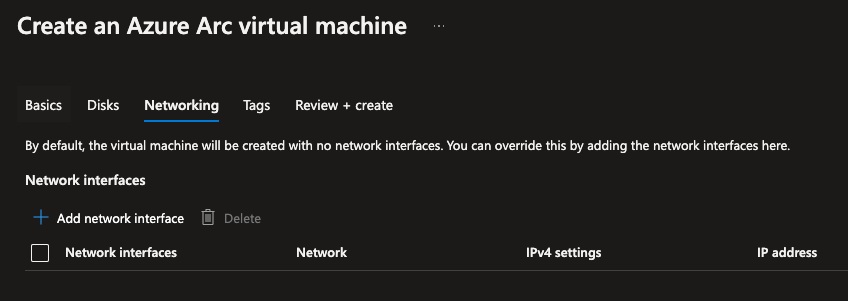
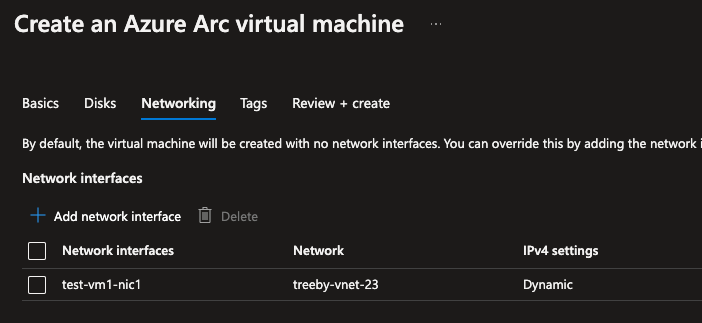
Add the Network Adapters required under the networking blade.
I’ll be adding one Network interfaces connecting the VM to my lab network.
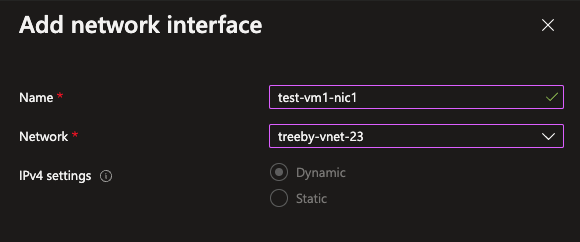
I set the IP address to dynamic so it will get an IP address from the DHCP.
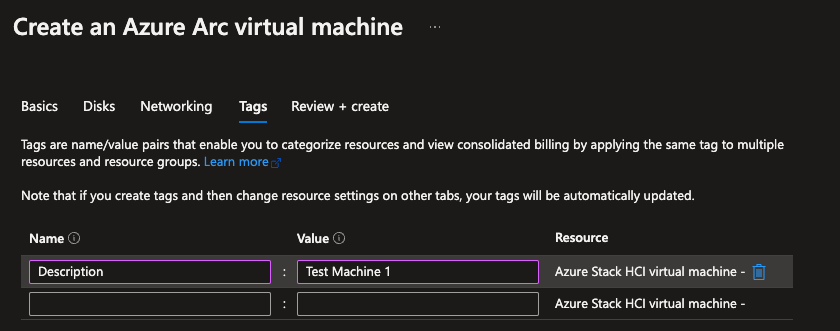
Add any tags required.
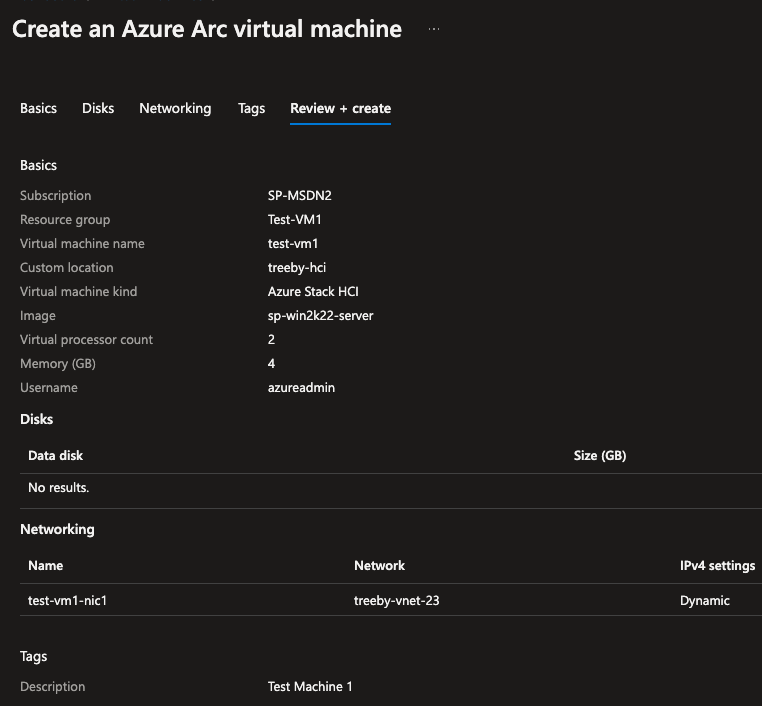
In Summary, Review and create.
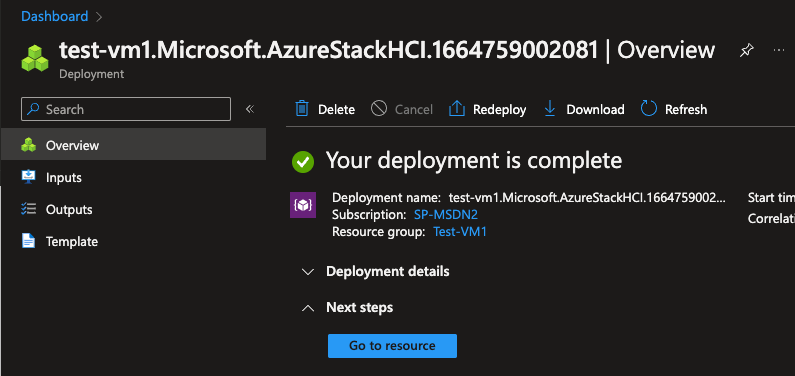
Once the VM is successfully provisioned, you will see the VM in the resource group with the following properties.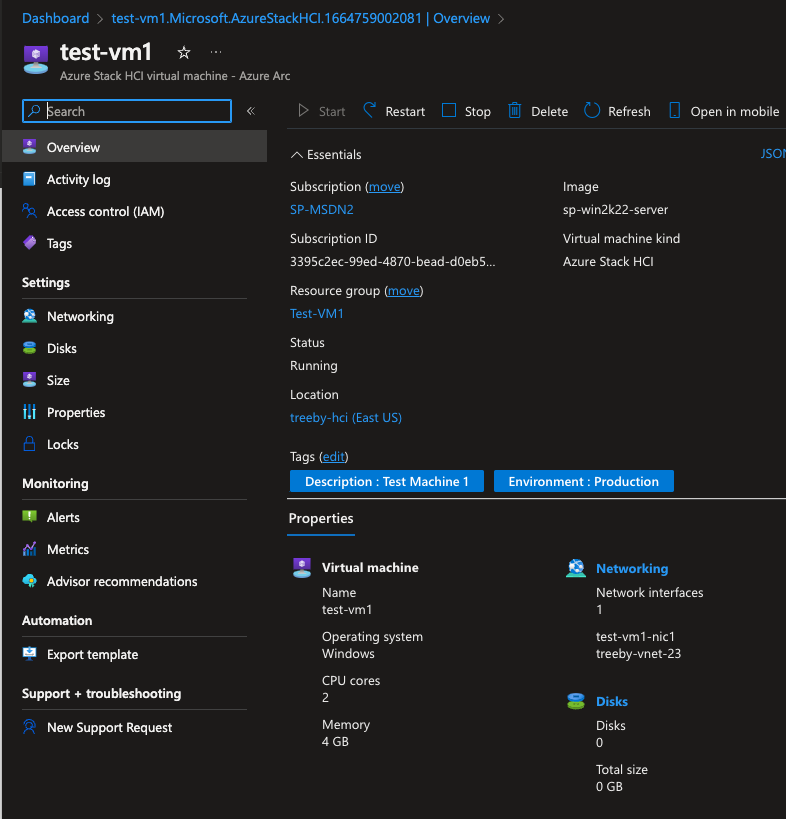
If I navigate to the Windows Admin Center, I can see the new VM has been created in the local cluster.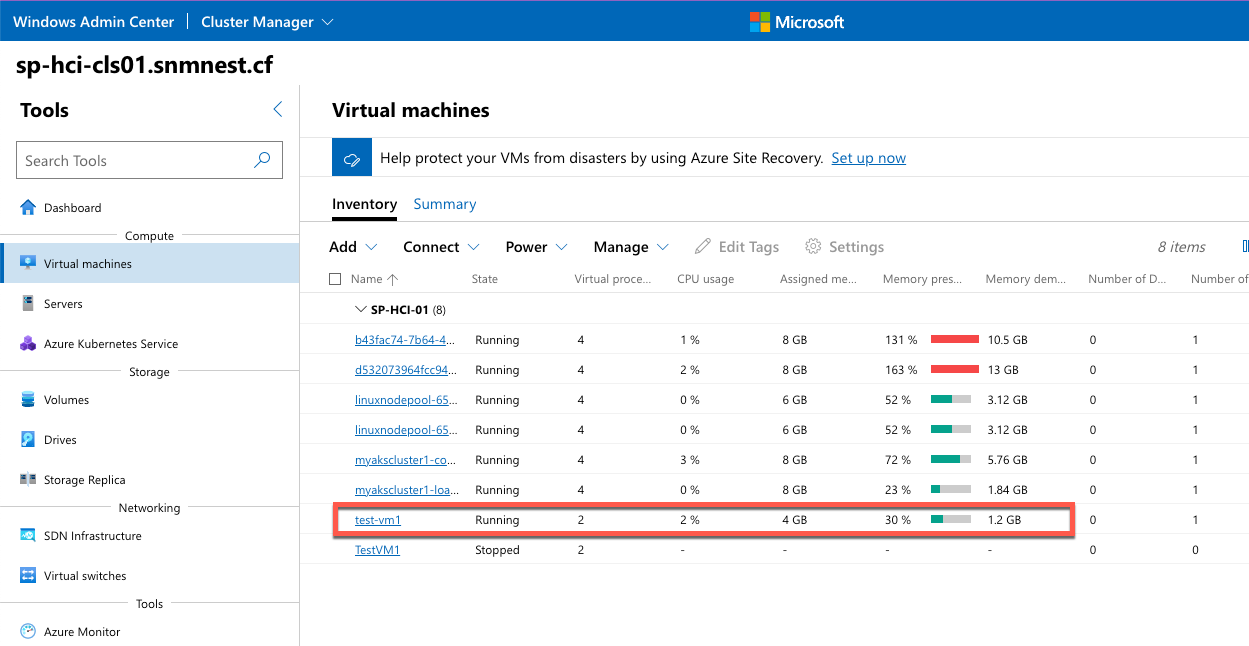
The IP address on the VM is taken out from the local VNET that we created.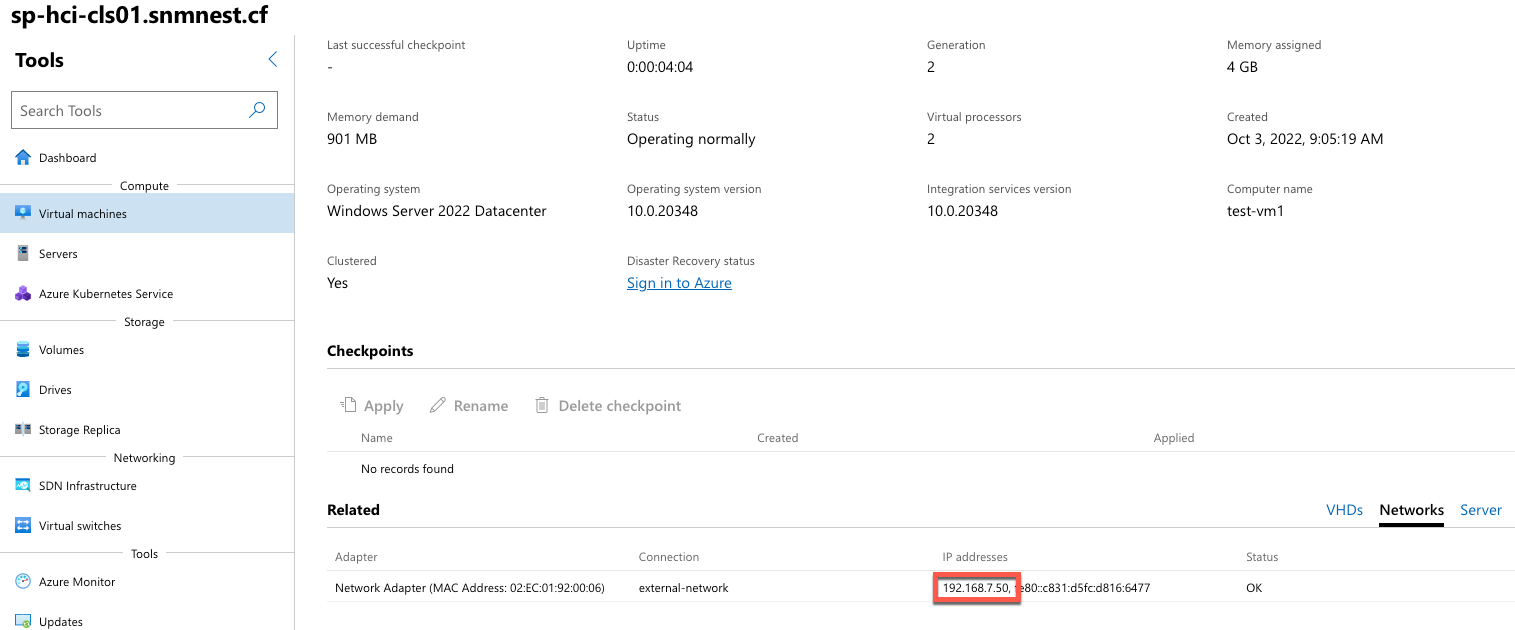
The IP address that appears on the Azure VM in the portal is a IP address from the local VNET that we created.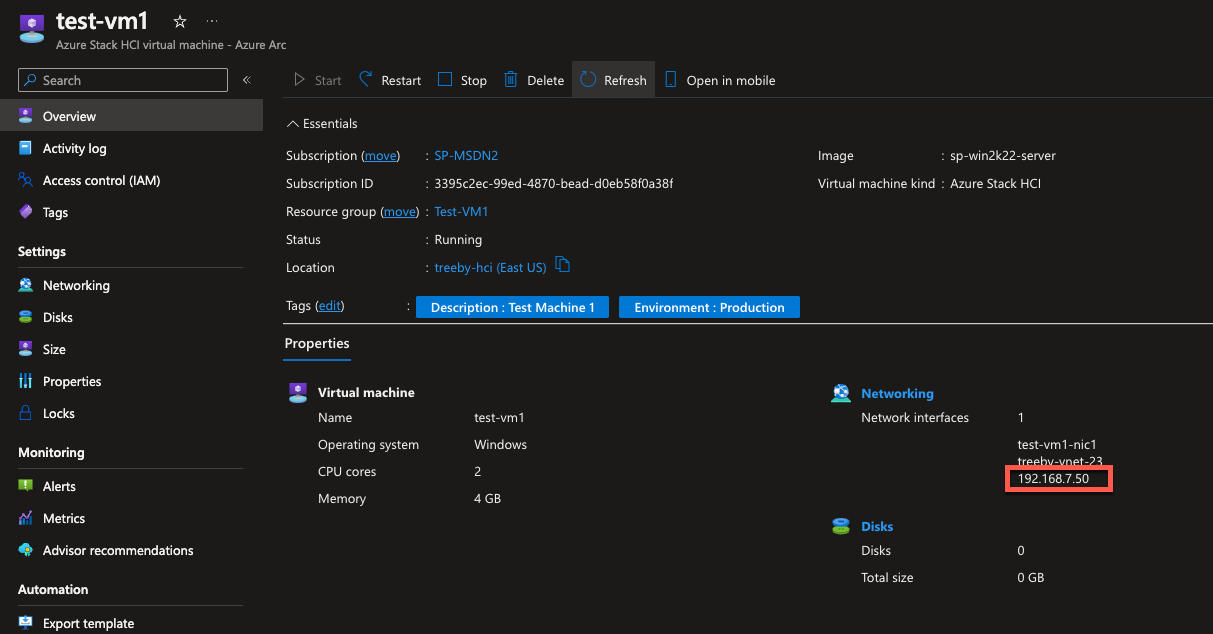
To double confirm, we will RDP into the VM and check the IP address of the newly created VM. It is the same VM.
In summary, Azure Arc Resource Bridge is a service that allows users to manage virtual machines in Azure Stack HCI and VMware clusters through the Azure Portal, using the same management tools as the cloud. The service projects resources, such as virtual network and gallery images, into an Azure subscription to enable the deployment of workloads in on-premises environments. In this post we walked through the real life experience of management of VM’s in your local data center using the Azure Management pane. Hope this post was informative for you.